To Crop or Not To Crop
Many times I have been out photographing birds that I knew were too far away for my camera to capture clearly, so when it came to post processing I would just trash them without even looking at them. Since moving to a mirrorless system I have changed my way of thinking completely. My Panasonic Lumix G9 has proven to me time and time again, that I can still use those far away images and still get a reasonable size print from them successfully. Since making this discovery I have been looking back at the multitude of unprocessed images I have that were waiting to be culled – and I am finding some treasures among them!
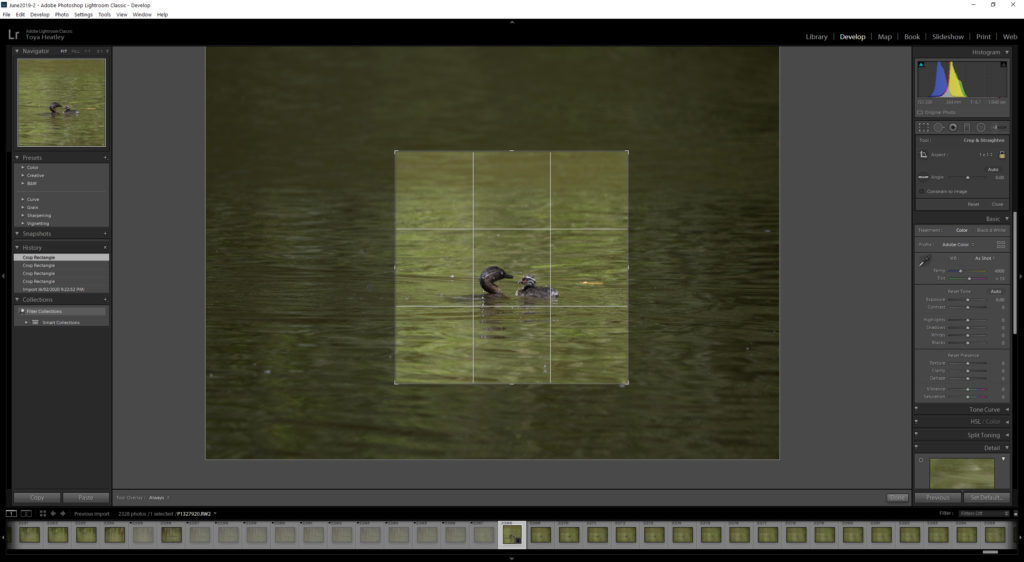
So how am I deciding which image can be saved and how big can the crop be to still get a decent print from? What I have been doing is viewing the images in Lightroom at magnification and if they are sharp when magnified then I know I can make something work. Today’s cameras give us lots of pixels to play with so providing the post processing isn’t over done and there isn’t too much noise, a successful print can still be achieved.
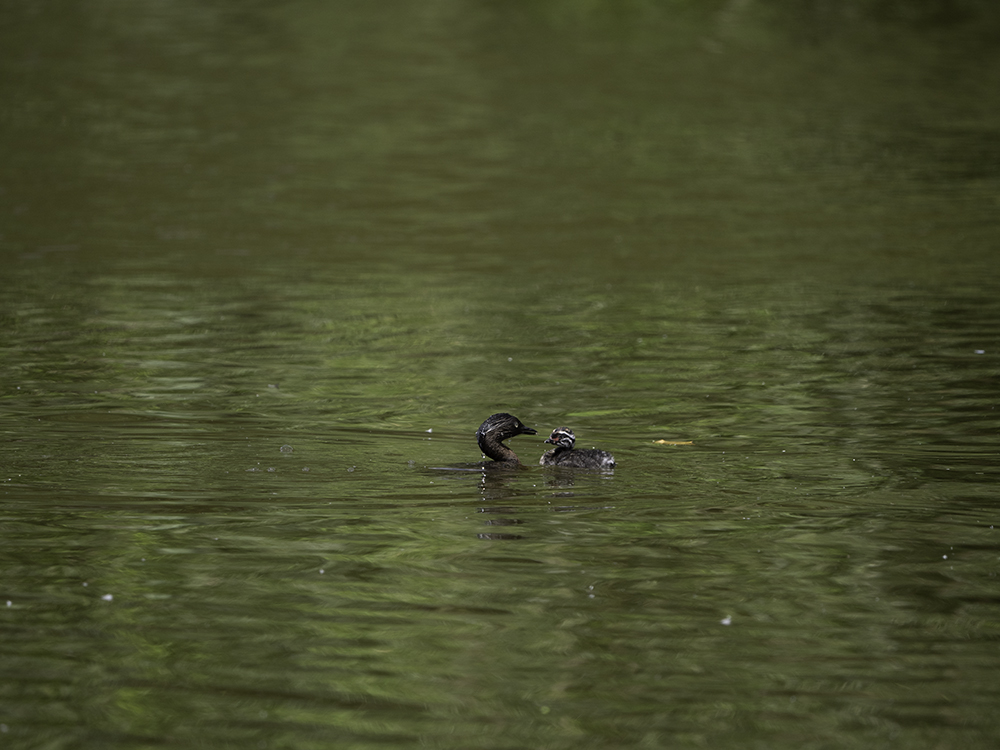
This image of a dabchick feeding its chick was taken at a local duck pond where the dabchicks have decided to stay well away from the noisy bird chasing children (both young and teens) and keep to the far side of the pond. At best they make it to the middle of the pond but no where near the side that we have access to.
This means that even with a long lens on, it is very hard to capture a close image of the dabchick family short of getting in the water with them. However in this particular pond I don’t think it would be a good idea to do. It is not one of the cleanest ponds about, I suspect you would find many rusting cans and broken bottles under the murky water.
I used my Leica 100-400 lens at full extension which taking into account the micro four thirds sensor, gives me 800mm of reach and still as you can see it is quite distance in the image. When I put it in Lightroom as a raw image and magnify it, the birds appear to be quite sharp, so worthy of a little time.
Another advantage of the long distance is that the angle to the bird is reduced, giving an image that looks like it has been taken from much lower level than I actually was.
When making the crop, I am always conscious of the amount of pixels needed to print to 8″ x 12″ but it is surprising how much you can crop off an image without going too far. Larger prints will require more pixels, so if it is a large print you want, then this is not going to work for you. To find how many pixels you require for such a print I suggest experimenting with different amounts, doing test prints until your image starts to show individual pixels.
Once I have cropped in Lightroom, I then edit in Photoshop continuing on with my normal workflow process. This usually consists of adjusting the contrast, colour tones and noise reduction. Not every image requires every step, but I usually go through the process to check anyway.
The last stage of my workflow is to save and export the image into whatever folder matches its purpose – web, instagram, print etc. While a lot of my images are for web/insta/facebook, I always retain the raw file so I can produce a high resolution image when I need to.
As you can see from the image to the right at the bottom, the crop was successful and the image is sharp and clear.
Ideally I always try to get as close as I can to the birds without disturbing or distressing them, but it is not always possible and this is one of those situations.


