Cropping images is very much a personal style choice, however over the years I have learned that there are some guidelines that if followed, will enhance how the bird is seen within the image. This guide is how I assess and crop my own images. I mostly use a square crop because I feel it best suits the style of bird photography that I do, but I am open to changing it up if I feel the bird requires a different crop – or indeed, no crop at all.
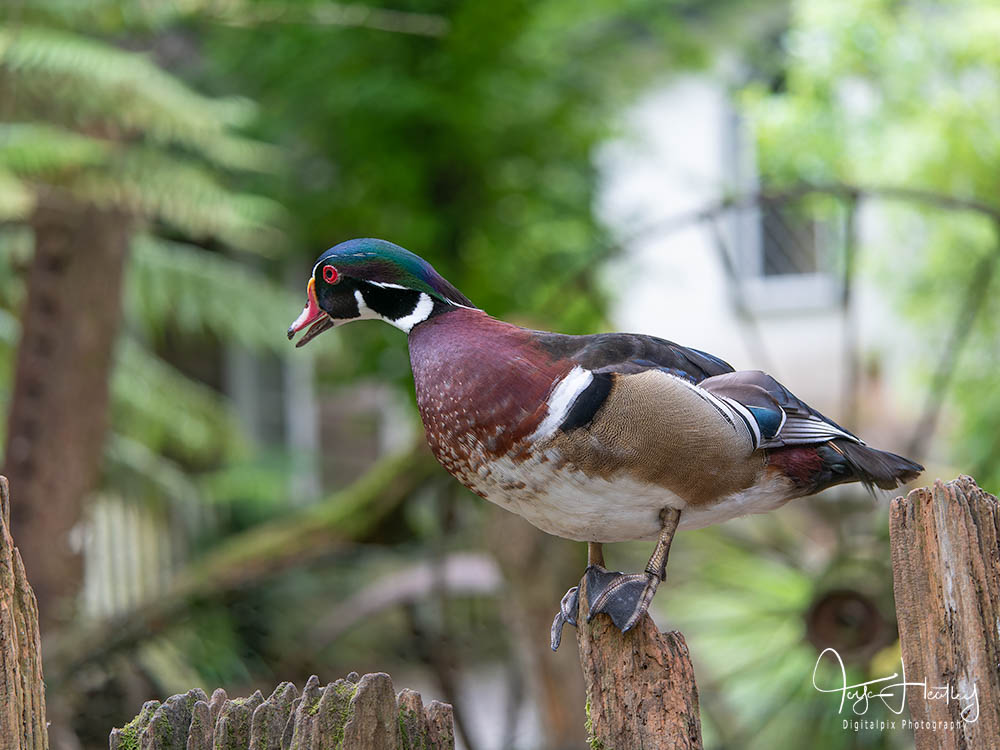
The image above is the full frame, straight out of the camera without being cropped. In this case I would probably not crop it at all. The main reason for this is the direction in which the duck is looking. When we look at a bird in an image, we don’t just look at the bird. We look at the possibilities within the image.
Is the duck going to fly off? If this is the case it would likely fly off in the direction that it is looking. Already in my mind, I am seeing the duck take flight, so it is natural that I can visualise that there is room for the duck to take flight within the image.
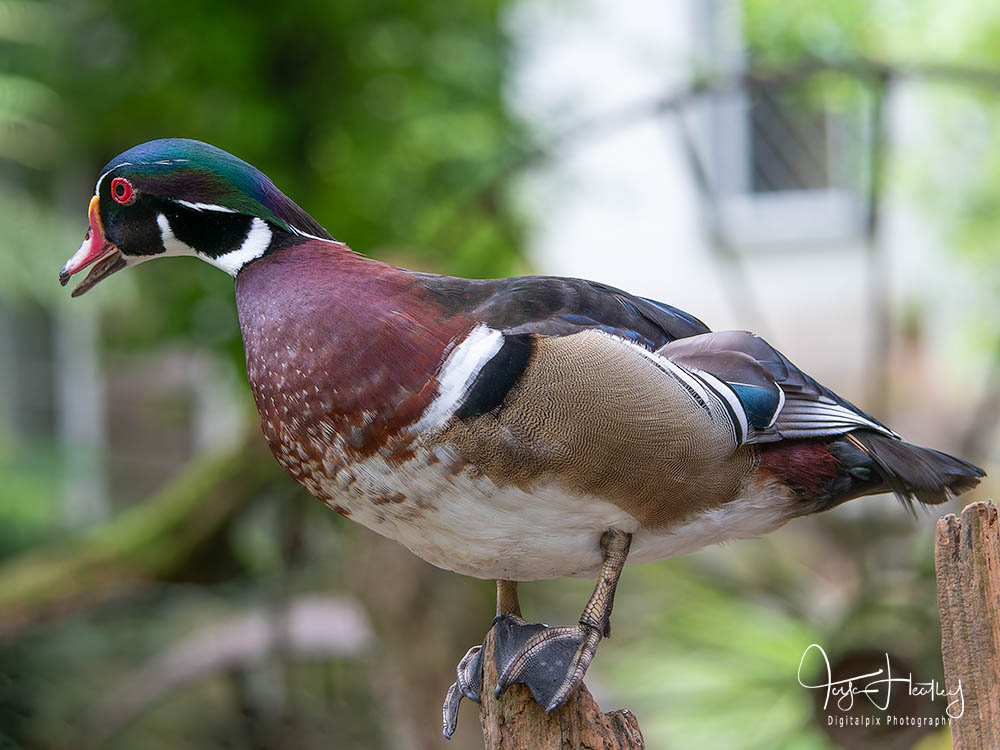
What if I specifically just want to show off the details in the bird feathers and feet?
The crop above does exactly that, however the duck now ‘feels’ cramped within the image. It becomes harder to understand why the duck is looking that way and harder to anticipate what the duck might do next. The story within the image is lost and the duck has no where to go. I generally do not crop my images in this way. Seeing the details can be done with other crops if necessary.
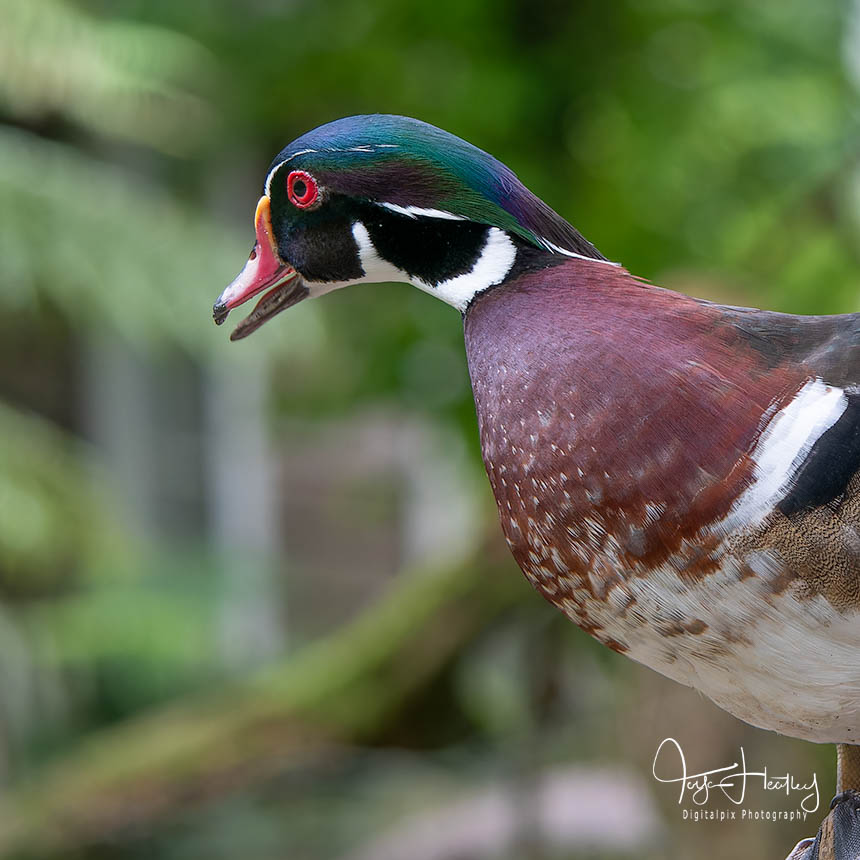
By cropping into the square format I am able to bring the focus onto the duck and its feathers without cramping it within the frame. I have left enough of the duck in the image to be able to identify it and also given it room to move forward in my minds eye. I have aimed to keep the eye of the bird on one of the lines of thirds. This is a ‘rule’ that we hear about a lot, however I do not see it as a rule, rather a tool to place the duck comfortable within its frame.
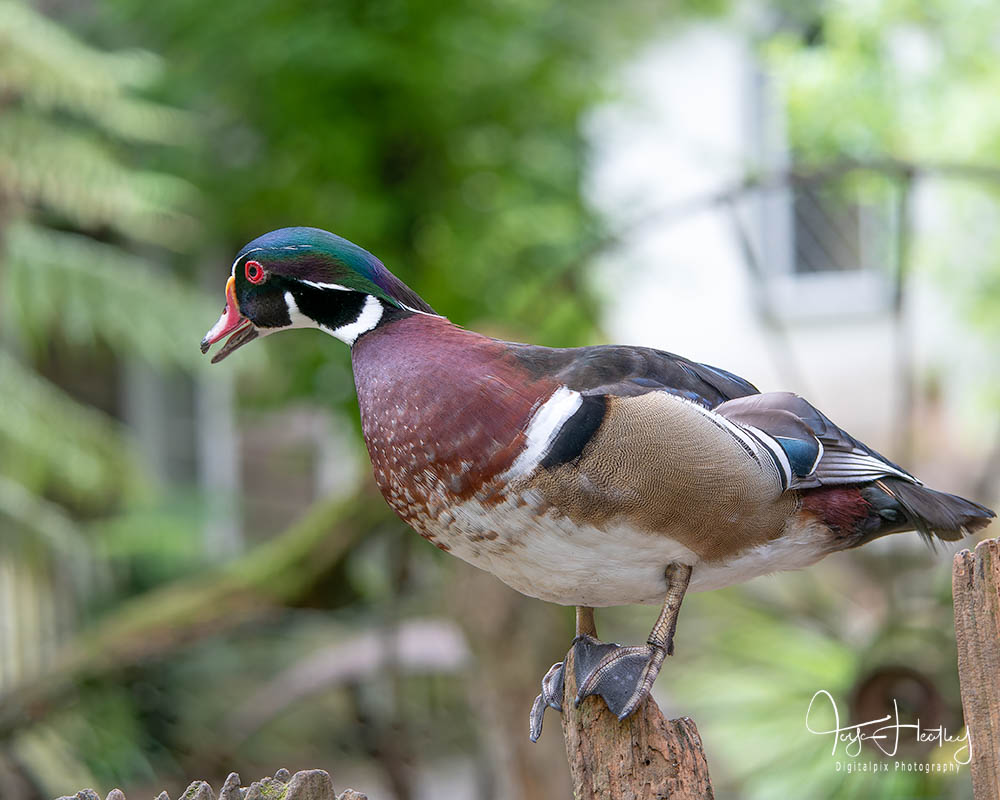
Not everyone is going to want or like a square crop or particularly want to get in that close to the details in the duck. In this case my ideal crop would be the one below. In this crop the duck has room to move. It is sitting on a fence post and the posts before and after are visible within the image and provide a diagonal line across the bottom of the image – grounding the duck. All the details of the duck are clear and in focus, making them easy to see by the viewer, and the story within the image is intact. I can already see the duck leaning forward with wings just starting to spread in taking off into flight.
How you crop your images is as I said at the beginning – personal choice. Your own personal style is important to you and I am not saying you shouldn’t continue as you normally do. What I am saying here is to take a few minutes to think about your image before you make the crop. Think about what you are trying to portray within the image.
Where is the story? Could someone else find that story if they didn’t know anything about the how and why the image was made?
What is the purpose of this image? If it is to be entered into a competition, then giving the duck or bird room to move could be the difference between your image doing well in the competition or being discarded during the first assessment.
In case your are wondering, the model for this guide resides at Staglands Wildlife Reserve & Cafe one of my favourite local places to visit with my camera.